- Home
- About Us
- Websites
- Performance Based SEO
- Web Marketing
- Contact Us
- Clients
- Blog
 |
|
|
Setting up Email Account with Windows Live Mail using IMAP
1. Open Windows Live Mail
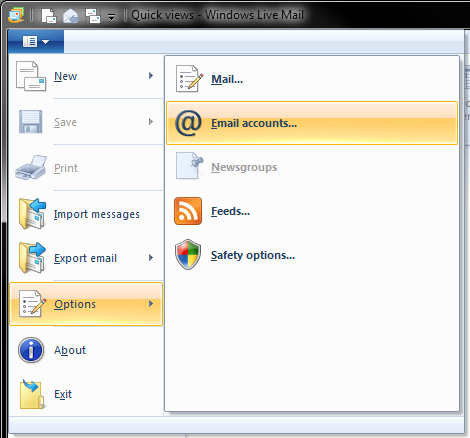
2. Open the menu then go to Options > Email accounts
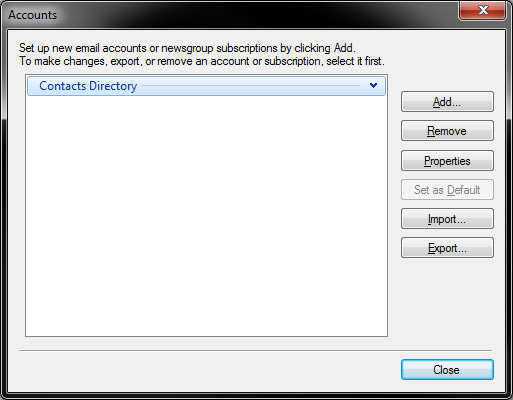
3. On the Accounts click on the Add button
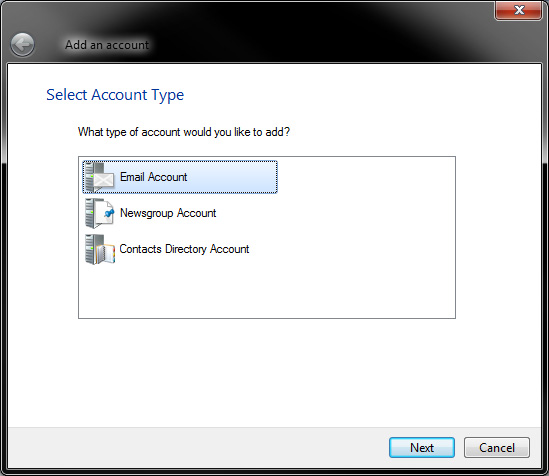
4. On the next window, select Email Account then click on the Next button
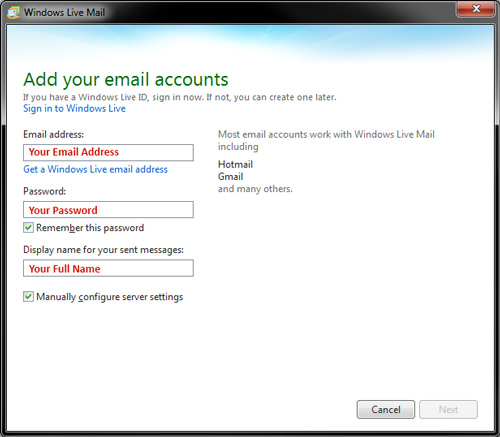
5. On the next window, enter the following information:
Email address
Enter your e-mail address.
Password
Enter your password
Check the Remember this password box.
Display name for your sent messages
Enter your first and last name.
Check the Manually configure server settings box.
6. In the Configure server settings window, enter your information as follows:
Incoming Server Column
Server Type
Select IMAP from the dropdown box.
Server Address
Enter mail.yourdomain.com
Port: 143
Authenticate using
Select Clear text from the dropdown box.
Logon user name
Enter your e-mail address
Incoming Server Column
Outgoing Mail Server (SMTP)
Enter mail.yourdomain.com
Port: 26
The Requires authentication box should be Checked
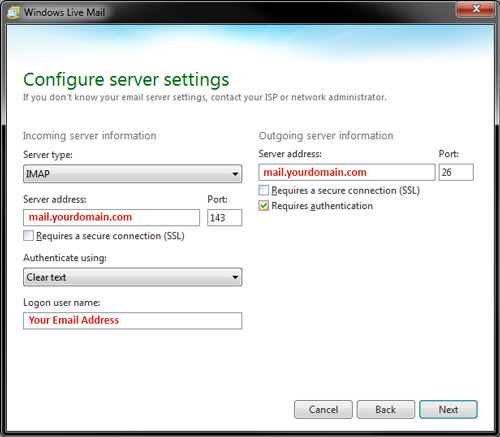
7. Then click on the Next button to save the settings.
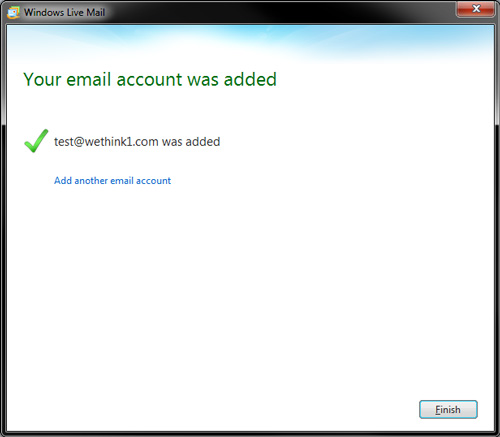
8. You should then see that your email has been added to Windows Live Mail
|
|||||||
| Home Business Websites clients Performance Based SEO PPC Advertising Professional Directories Conventional Marketing Contact Us | |||||||
| © 1998 - 2026 We Think Solutions, Inc. | Privacy Policy | Sitemap | ||||||